Monday, April 28, 2014

Two layouts and a card

Hi everyone! I have a few works I'd like to share, all of them using Scrapmatts chipboards


For this page I decided to use the gorgeous rose vine chipboard CB2023 Roses 01 , which I really love. I also added a butterfly from the set CB4007 Frames 02, and for the title I used CB6071 Assorted Words 07. 


In this layout I used a gorgeous swirl frame (CB4007 Frames 02) and the butterflies included in the same set, painted with white acrylic paint and stamped with a script stamp. I also used a border chippie at the bottom (CB6043 Card Borders 05)


Finally, I made this easel card and used some pretty chipboards to embellish it (CB1004 Flourishes 05 and CB1220 Ornate Frames 22)


Friday, April 25, 2014

A Perfect Day

Hi everyone...Sandi back with you today to share a layout using Scrapmatts Chipboard!

A Perfect Day
I once again put the new Frames use as I simply love how elegant they look!
I also used the CB1209 tags for my title and added a little color with mist.
The leaf spray and twigs are a definite favorites for me as I love to break them up and tuck into the flower clusters.

 Scrapmatts Products Used:
 
That's it for me....Happy Scrapping!

Sunday, April 20, 2014

Happy Easter and some projects for inspiration!

Hi dear cradters!

Easter is a promise
God renews to us in each spring.
May the promise of Easter
fill your heart with peace and joy!
Happy Easter!


Firstly I want to show a wedding card with great Scrapmatts frame CB6090 Ornate Frames 18.
I decorated it with flowers, dots, piece of paper from book and pigeons.


Here is the lo for our grandparents.I used very vintage papers by tilda and on more perfect frame CB6092 Ornate Frame 20 and sweet butterflies from the set CB4008 Butterflies 01


and finally little card with little piece of chipie from the set  CB4060 Ornate Frames 17


Have  a great day!
Happy Holidays!


Friday, April 18, 2014

Easter Greetings


Hope you are all ready for  chocolate overload and hot cross buns!
Hard to believe that Easter is here again!  The months seem to be flying by in my household.
Both my boys are on holidays and are really enjoying the break from school. They must have be exhausted from all that school work as they are more than happy to let me squeeze in some scrapping time!
 
I have created two tags, using Scrapmatts of coarse!
 
March Tag
 
 
March Tag - Close Up

 
For this tag CB3008, I have covered it with paper and added CB5106 Chevrons , CB1189 Scrapwords & CB1188 Birds.
 
 
April Tag
 

My inspiration for my April Tag was Easter.


I have used a Scrapmatts Tag  CB3008, a piece from CB5017 Nested Shapes and CB1190 & CB1200 Scrap words.
 
 
I also have a layout that I wish to share with you.  It is a little bit different than my normal style, much brighter but I felt like doing something a little different.
 
"That's My Boy"


I have once again used one of my favourite pieces of chippie... Scrapwords C B1197 and CB1189.
 
I have one last layout that I have created using mixed media.
 
"Timeless Moments"


 I have used Scrapwords C B1197 and inked the Title using CB6071 assorted words
in a red chalk ink. 
 
I hope that you all enjoy Easter with your family and friends.
Don't eat too much chocolate!!!
Tracey
xx

Thursday, April 17, 2014

Mixed Media Tags & a Tutorial!

Hi It's Lisa here with you today.
Guest designing for Scrapmatts once again.

I've put together this fun tutorial for you using tags, inks, stamps, stencils and of course chipboard.
It's a little messy, but lots of fun.
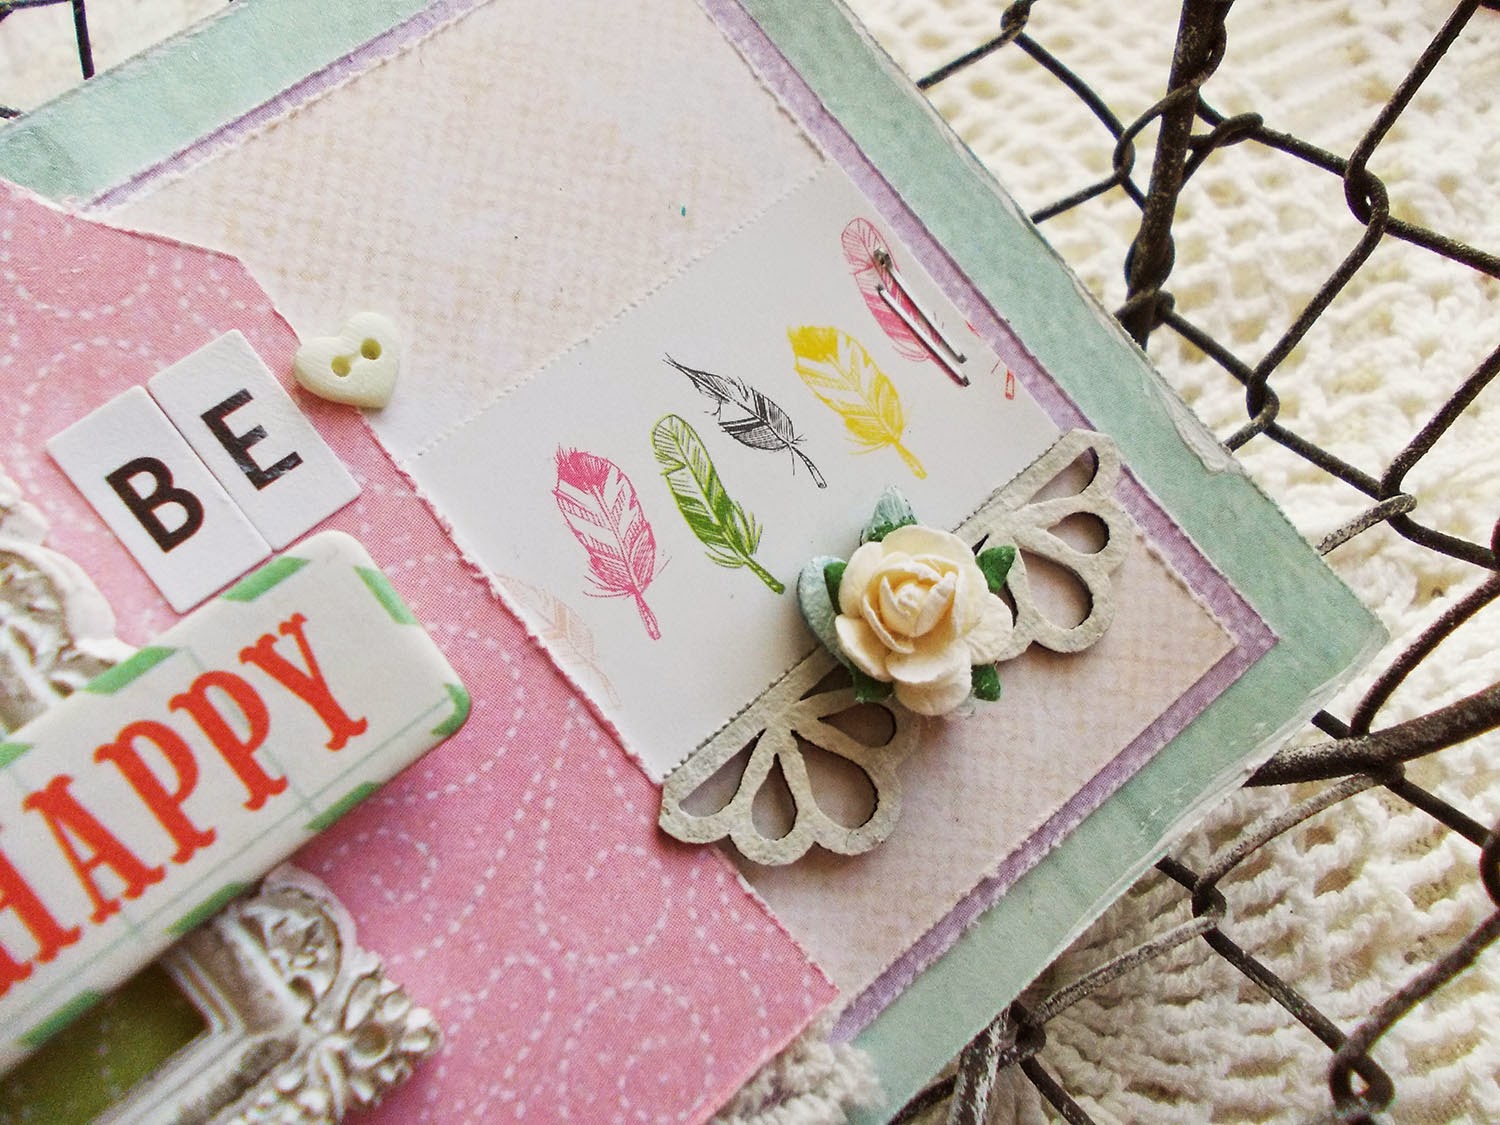
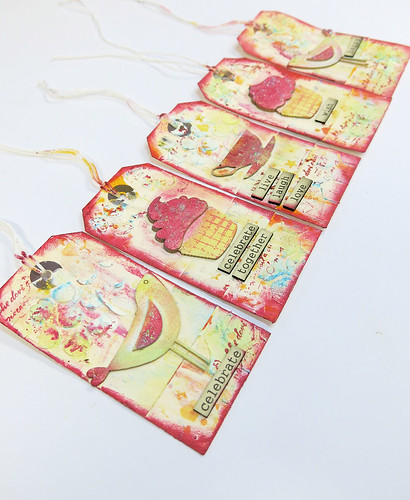
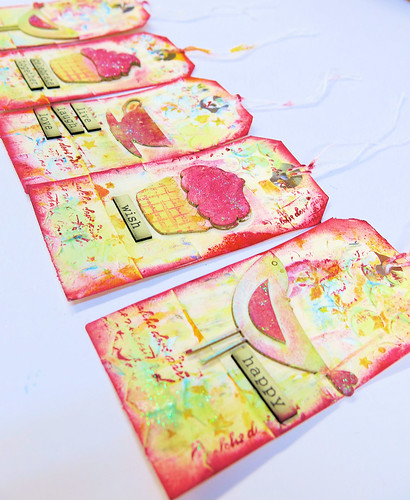
This is what we end up with.


But we start off like this.


I used these cute chipboard shapes and some plain tags.
It's now time to get messy : )
Get that apron on and remove anything you don't want to get misty from your desk.


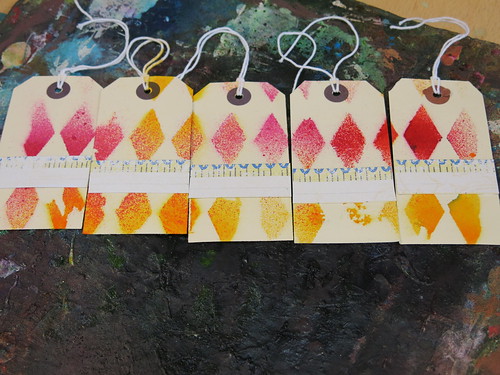
I've taken a big 12x12 Crafters Workshop Stencil and some mists. Laid the mask over the tags and randomly misted. I like to dry off with a heat gun between each layer to save time.


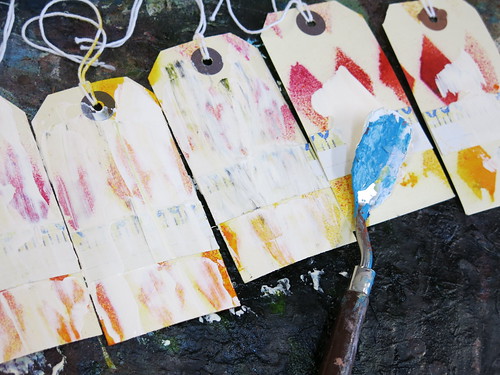
Once dry, I've stuck a piece of scrap paper on each tag.


Then taking a palette knife (an old credit card will also work) I've spread some white acrylic paint over the tags and dried off.


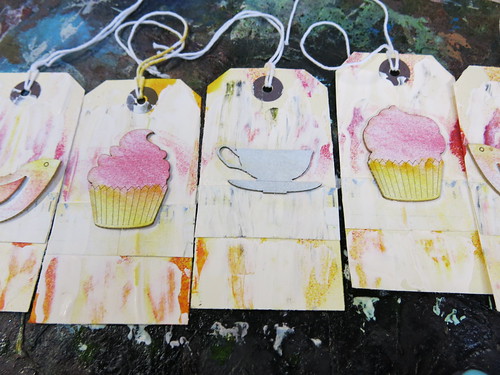
It's now time to add the naked chipboard. I've used pva glue to stick it to the tags.


I've started to decorate the chipboard by using Prima Chalk Inks to add some colour. I covered the cup and saucer chipboard with a white Tim Holtz Distress Stain before adding colour.


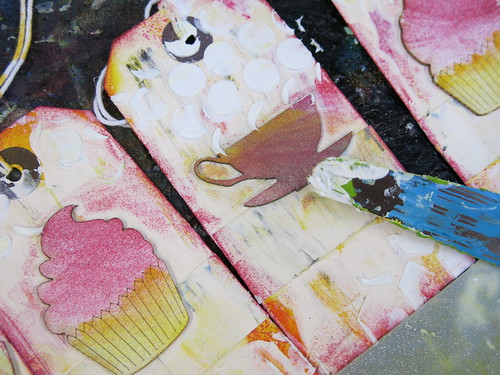
Using another Crafters Workshop mask and some moulding paste, I've added some texture to my tags around the chipboard.


Once the paste is dry, I've taken some PanPastels and a sponge to dab over the new texture that I've just added. I love the contrast of colour now being added.


And they work great on the chipboard too.


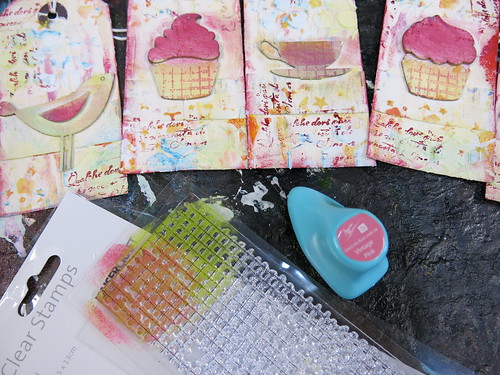
Time for a little stamping on the tags.


I've stamped on the chipboard over the pastels too.


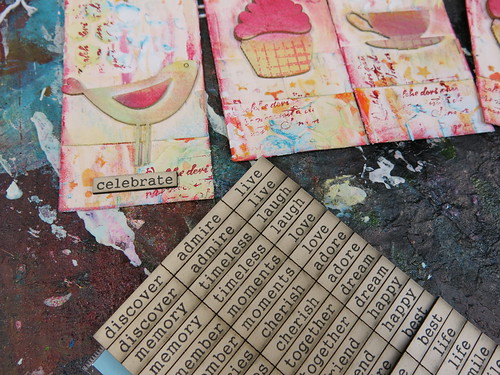
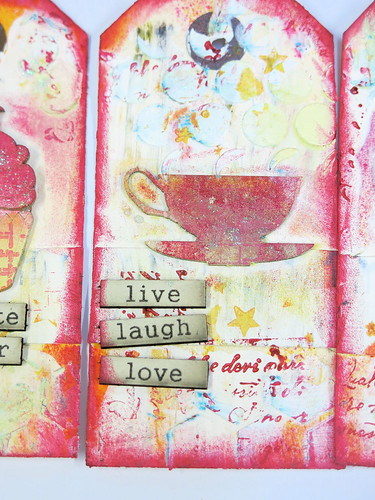
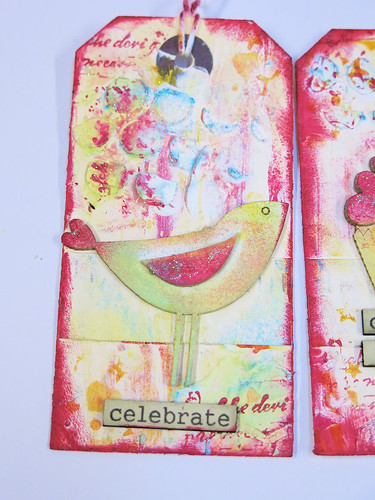
The tags are looking rather colourful and pretty now, so time to add some words.
I love these chipboard words. They really finish these tags off nicely.


I'm really happy with how these are turning out. A couple more things before they are finished.
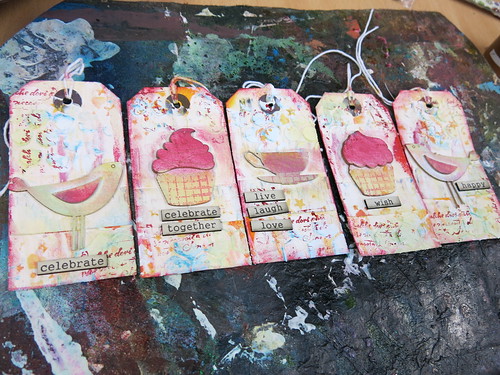
The edges of the tags need inking and some glitter needs to be add to the chipboard.


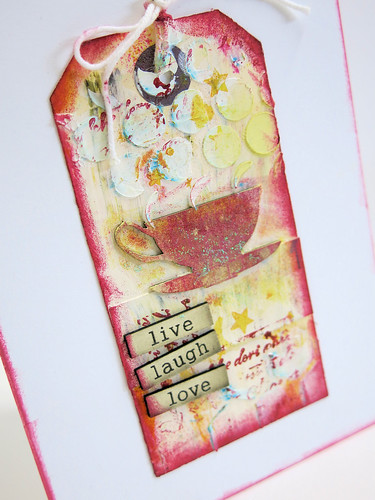
There we go. They are finished now.


I love these : )
Here are some close ups.


Now you have these sweet tags, what to do with them?

I like to have them as stand bys. You can add them to special gifts. With a pretty ribbon tied around, they look great. I add them to LO's when I'm scrapbooking and I like to turn them in to cards.


I hope you have enjoyed this tutorial and have some messy fun yourself.

Lisa xx


Wednesday, April 16, 2014

Unforgettable Tags

I have now officially scrapbooked about scrapbooking - as my husband pointed out to me when I showed him this layout. :) I have had this fantastic photo from the 2012 Noosaville scrapbooking retreat I attended sitting around for a while and decided it was finally time to put it to paper.
 
 
Scrapmatts chipboard used: CB2003 Page Borders 02; CB6092 Ornate Frame 20; CB1198 Scrap Words 06.
 
You can see in the close up that I have misted the pink title piece and the flourish has a crackle glaze over the top.
 
 
For my second DT project this month I finally remembered that I was meant to be creating a tag a month so have created a pair of sewing themed tags. Do you notice the fancy distressing on the dress form chipboard piece? This was created by dropping the chipboard hot embossing powder side down on my leg and then ripping it off, leaving a hash shaped burn mark on my leg. I highly recommend finding an alternative strategy to distress your own chipboard.


Scrapmatts chipboard used: CB1194 Sewing 02; CB3007 Tags 03; CB1065 Words 18 Elegance; CB6053 Dress Forms 04.

Monday, April 14, 2014

A Little Time....


Hello, all.....

Kim here to share a few of my creations using 
My children have just started their Easter Break/school holidays, so I hope to do a lot of
crafting over the next two weeks......looking forward to lazying about and spending time with my little people and the BIG ones too!!!

The first project I would like to share is a layout.....

{U create beauty with}
your attitude
your behaviour
your actions


I have used 
I had both of these beauties in the raw chipboard and painted them with gesso.
They do come in a selection of colours, that you can pick from!  


 {Amazing Journey}
so far!!!

{Think & Process}
 
 
I've embossed the circles then painted, just to add more texture to my layout.
I LOVE CIRCLES!!!

 {Cause I'm Happy}

I have painted this stunning Ornate frame using water colours


Before I go I would like to wish you all a 
HAPPY EASTER
&
keep safe  if you are traveling over the break

Hugs
Kim